I’ve been painting for more than 10 years now and at the beginning, I mostly painted flat art focused on developing techniques and how to master proportions, composition, colors. I’ve never thought much about other dimensions that can be created as well. A few years ago I came across some beautiful floral artworks, where there was a lot of structure. That totally brought up my curiosity. I began to gather information about materials which create such an awesome effect. There were not so many options for this, I found few mediums in a local art shop. Mostly there were just thick colors mixed with some kind of grain, in very small packages so that didn’t really work for me because I go heavy on texture 🙂
I finally found some modeling paste from Liquitex and have been using it for few years. I always had to order it from abroad because here was available packaging only in small quantities also very expensive ones. I wondered of what ingredients is the paste made, it had a pretty nasty smell and no information about that could be found on the package. It just seemed to me a bit unhealthy, especially when drying my canvases inside the apartment.
As an artist who loves the texture, I always tried to figure out new ways to make it and use on the canvas. I also love nature and I think that every single person can do small but effective changes to help and provide more environment-friendly solutions. That is why I did a bit of research, how to make my own paste at home. I found different options and decided for one.
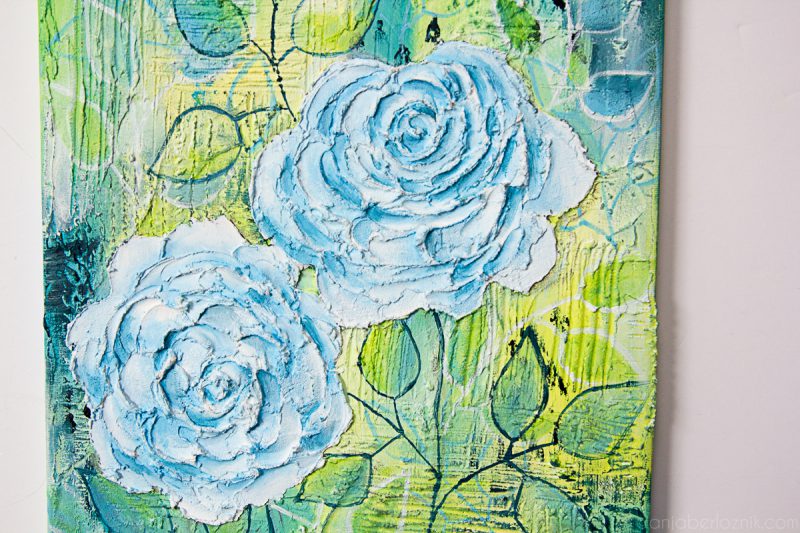
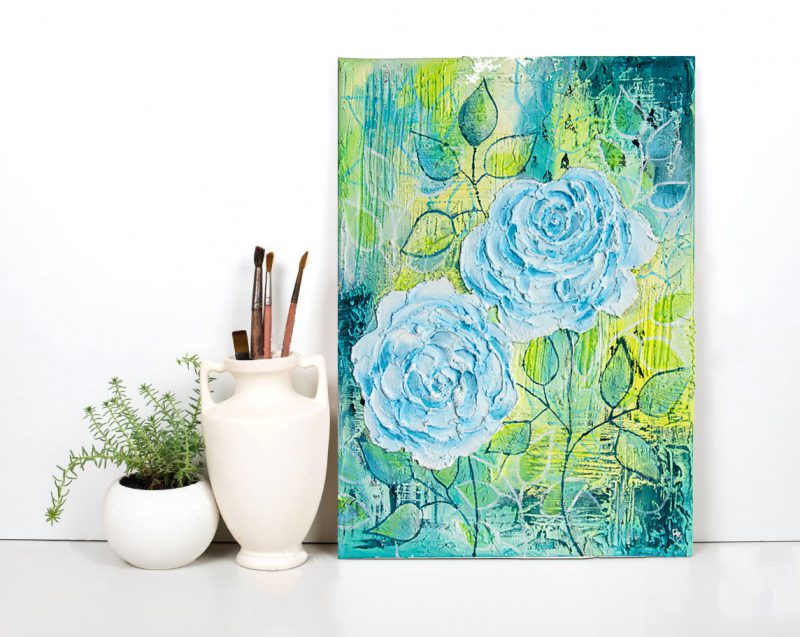
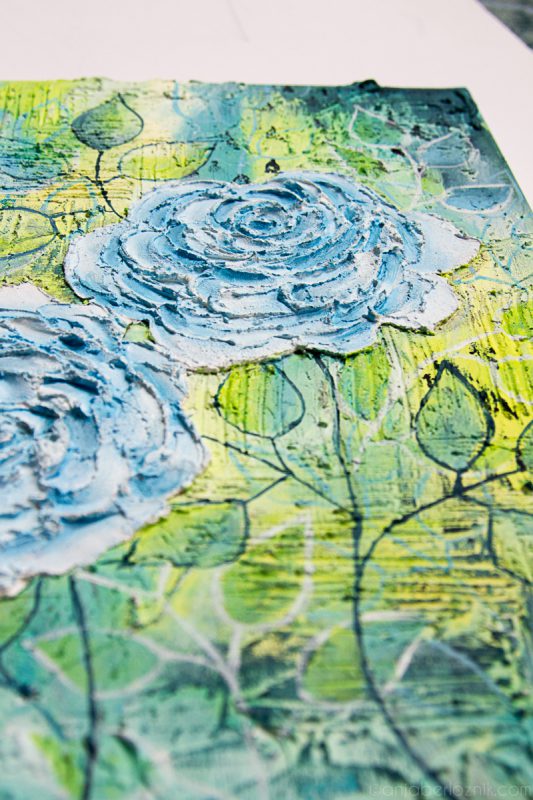
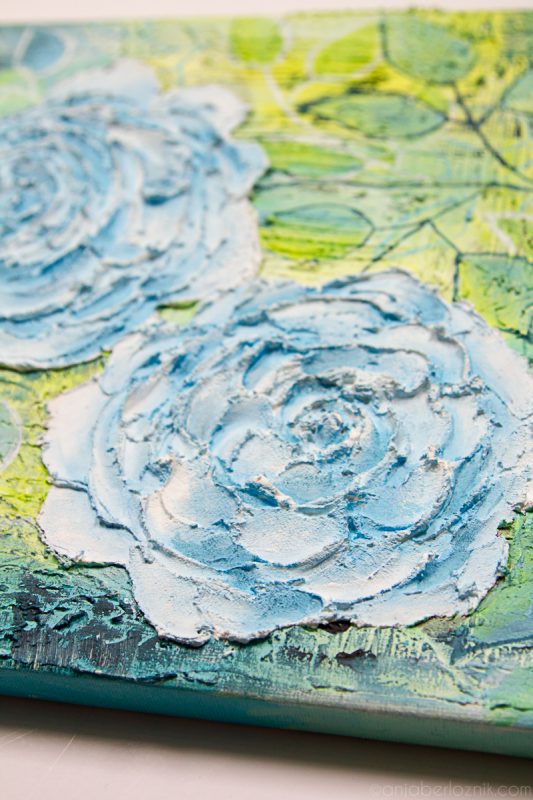
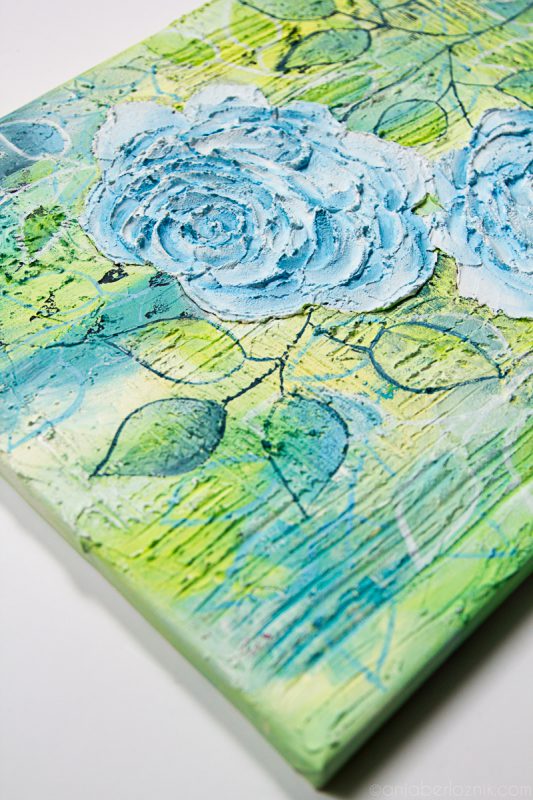
My latest painting of roses was made with homemade texture paste. As you can see I made a very structured background and almost kind of sculptured flowers. I worked with palette knives. I love how you can make your own paste as thick as you want and it is very efficient since it doesn’t dry longer than the bought mediums.
If you browse through the web you will find many options for making your own texture medium or gesso. Some people buy the paste for wall corrections but it’s not so great because it gets like a chalk and surface is covered with white dust which later mixes with color. We don’t want that. One option of homemade paste was with baby powder, it is nice because it is really really smooth, but I am not sure I like the smell of baby powder. The third option that I figured as the best one was with baking soda. See the recipe below.
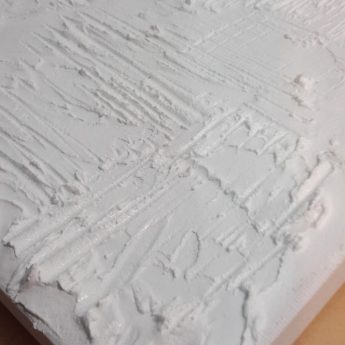
Baking soda homemade texture paste:
- 6 units of baking soda
- 2 units of white glue
- 3 units of white acrylic color
*for first try 1 unit can be 1 spoon.
This mix works best for me, the amount of color can vary, it depends on color fluidity and what kind of paste you want. If you want a medium for heavy texture use more soda if you need it for gesso use more color.
The glue is not the most natural thing but definitely better than chemically produced mediums. If you have any idea or ingredient that could replace this glue, let me know!
You mix up all the ingredients together and store it in a tightly closed container or a jar. It’s good to have it in stock so when the inspiration strikes you are always ready to make art 🙂
Hope this helps you and encourages you to try something new. Have a lovely day!
JOIN my online textured mandala class
I use mixed joint compound and add 10-15% acrylic house paint. Great success. If you want the texture thinner, add more paint. Thicker, add dry joint compound.
Awesome! Thanks for sharing
Hello, I just camr across your article. Would also want to try painting with textures. Say for example I want to have different color e.g. yellow, can I Just use yellow acrylic paint directly into the mix or do I need to use white then just paint the yellow when it dries. ? thanks in advance.
Hi, you can mix it with the texture paste, but it’s going to be light yellow then, so if you want to keep the same tone of yellow is best to let the texture dry and then paint over it.
Thank you for your explanation, Anja. I am just beginning to try something using modeling compound. I’m so glad that I found your post!
Modge Podge w baking soda! Trying today!
I’m going to try making that too , but is Mod Podge the same as glue ? Basically glue or MP are more non toxic than the other commercial mediums I would think so that’s what I’m trying on a stenciled piece of Alice in Wonderland furniture . Wish me luck ! Thank you to this page creator too great money saving advice for new artists .
I used MP also and was similar to the white furniture glue. I don’t think one is better than the other. The glue is just more affordable and available in bigger packaging.
Thank you for kind words!
Thanks for sharing your recipe. How long does it take to dry?
It depends on the thickness of the layer you make. I usually let it dry overnight.
Hello, I want to use the paste on furniture and run a decorative roller over it. Do I need to make it thicker to hold the pattern? Thank you for the recipe!
If you would like to make it with the homemade paste: I would scratch the surface of the furniture a bit, so the paste sticks to it better. Also, use a quality finish coating, so it doesn’t scrape off.
For longevity of that kind of surface, I think the best would be to buy a mixture made exactly for furniture. But do keep me updated on what you did and how it worked out!
Would homemade starch from long grain white rice work in place of glue?
I think that might work as glue. Maybe you try a smaller amount and let us know 🙂
Anja…. ThankYou SoMuch for yr recipe….