Summer holidays are coming to an end and if you already made all the creative projects in my e-book 20 creative projects for summer holidays, then it is just about time to combine all those skills in this little rainbow project.
In my painting work I always try to find new painting possibilities, to make things different and more interesting. As I really enjoy working with texture, I also love to mix up different painting techniques and materials. My main goal is to make painting less planarly and two-dimensional. I tend to create embossed surfaces, because I really like this kind of diversity of artworks.

In today’s DIY project, which is a painting one, I have included a thicker natural twine. I created a distinct pattern with a string, which also creates a smaller parts of the painting, which needs to be filled. More about it below.
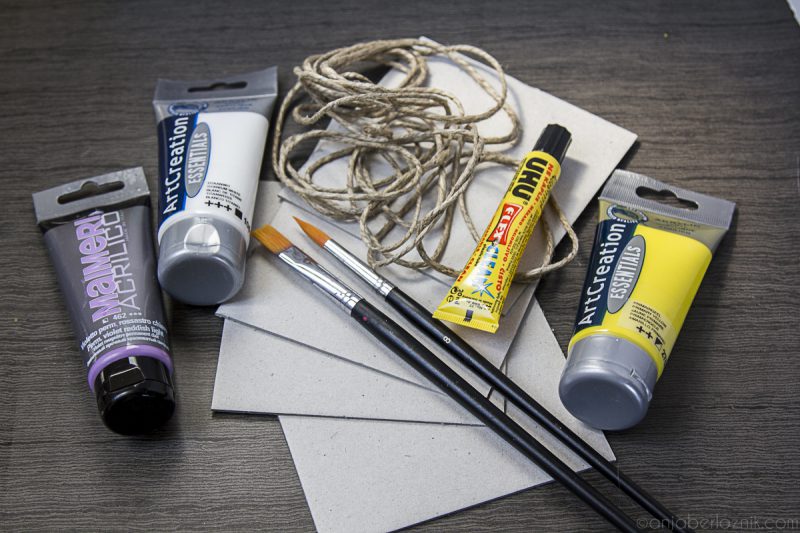
Art supplies:
- Firm surface – -wood, card or similar,
- glue,
- natural twine,
- acrylic, aquarelle colors,
- brushes.
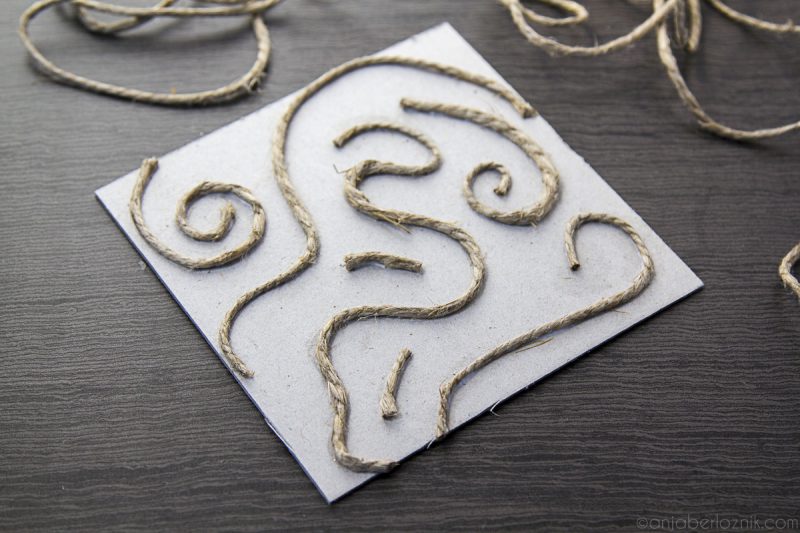
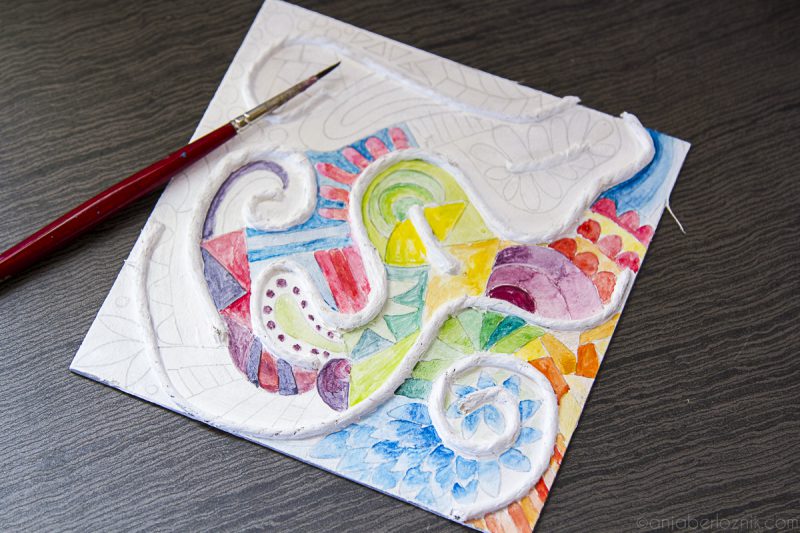
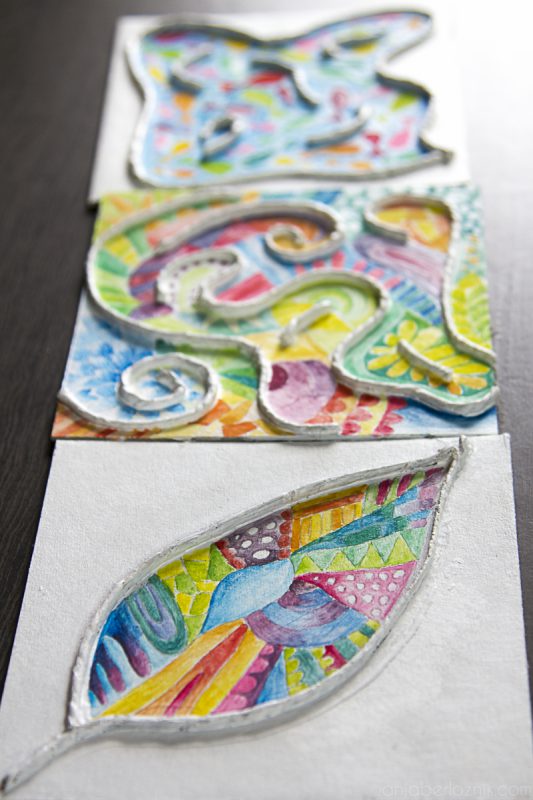
For the base I used about 5×5 inch firm card. I cut the string regardless of the motif, which you can, if you prefer, earlier sketch with a pencil. Make a random patternwith a string and glue it to the surface. Pay attention to each part of string, they should not be too close together, because we will paint the intermediate part.
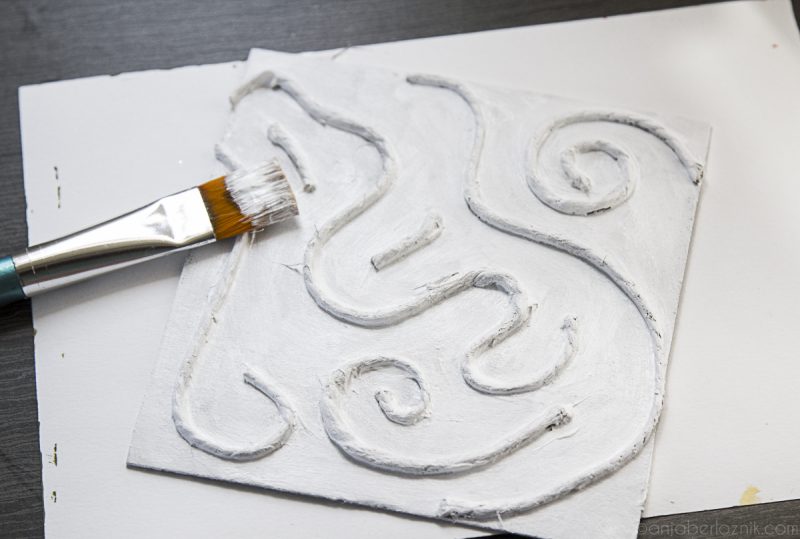
Let the whole thing to dry, and then paint the entire surface with a well-covering white color. I used acrylic.
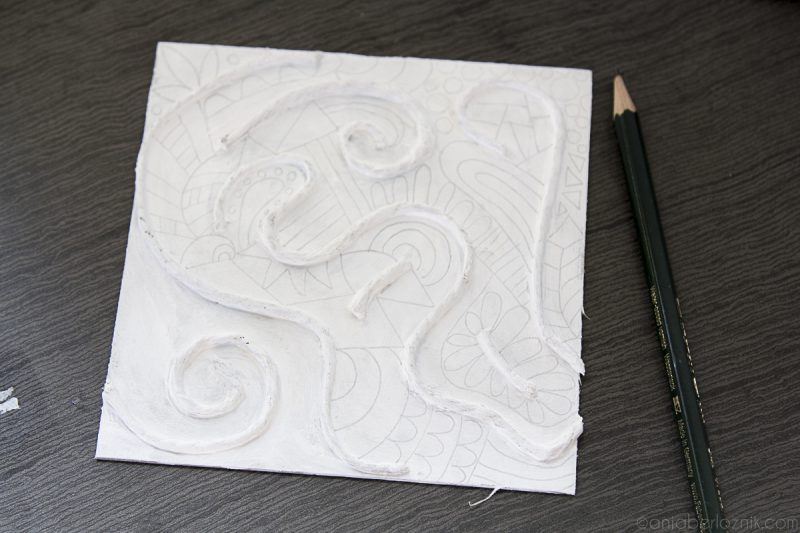
Again, it is necessary to wait until the surface is completely dry. Then use a pencil and sketch the pattern, include small, decorative elements, lines, circles, floral motifs or whatever comes to your mind. Somehow fill the entire space between the strings, do not draw fine details, as they tend be difficult to paint.
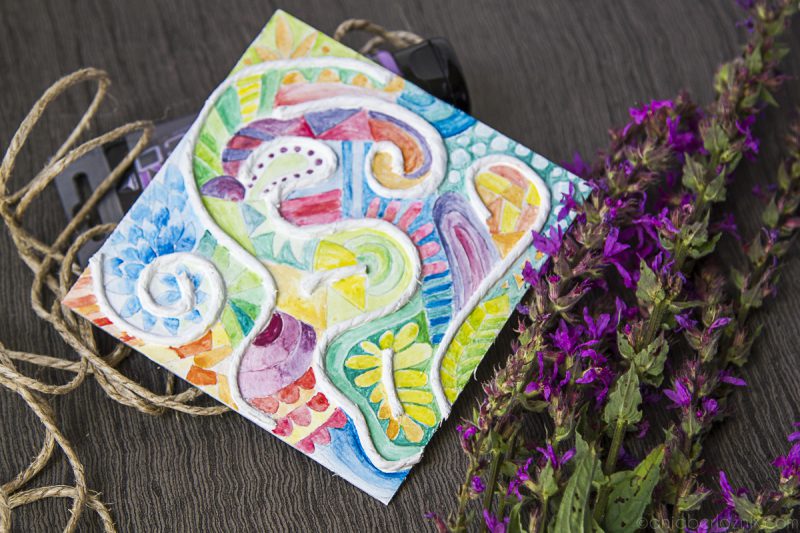
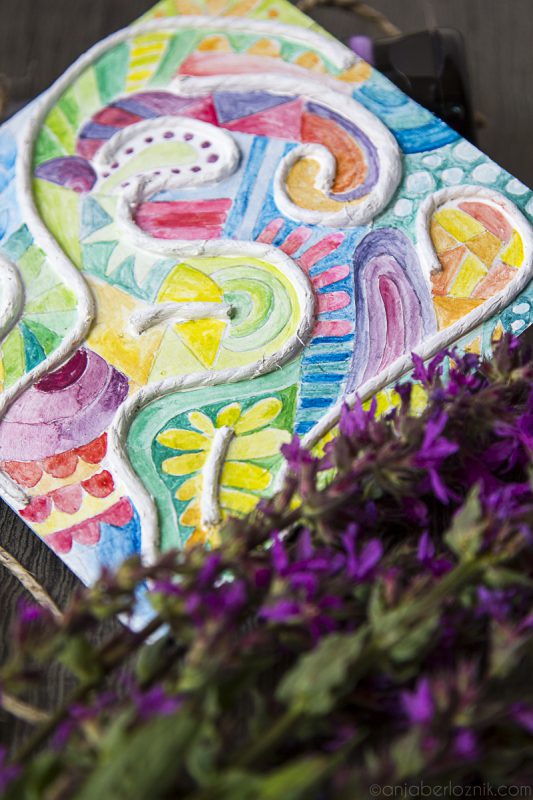
Paint the motif in vibrant, rainbow shades. Due to the white base, the vividness of colors is even greater. You can leave some intermediate partis white, but not too many, because this is the only way the twine will stand out a bit. We can also play with shading, blending neighboring colors. As you can see in the picture, I tried to create individual harmonic components, but all together they still works well. I used cold (blue, green, violet) and warm (red, orange, yellow) colors and made a balanced color scheme. For painting I used watercolors, because they make beautiful color transitions and it is easy to mix them, shades are also really vivid.
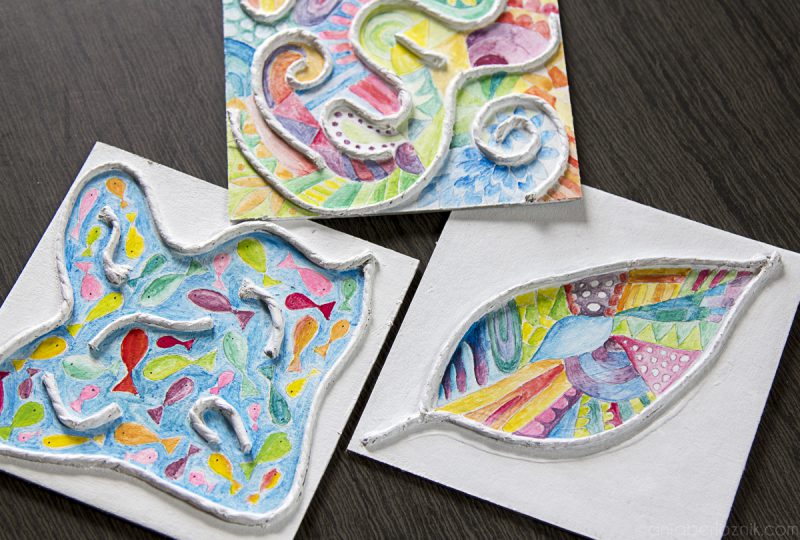
When I filled in all the pieces, really beautiful color composition revealed in all shades of the rainbow. In this way we can also make the basis for any board game and include children to make it. If you do not find yourself relaxed enough combining multiple colors, you can choose to start with only one range – only warm or only cold colors, perhaps even only one color in different light shades. Certainly it will look great, whatever you decide to do!


Have a great and creative week!
How do you get inspierd for painting? Check it here: How to start painting – part 1
20 wonderful ideas how to make art projects with your kids: 20 creative projects for summer holidays
Leave a Reply